
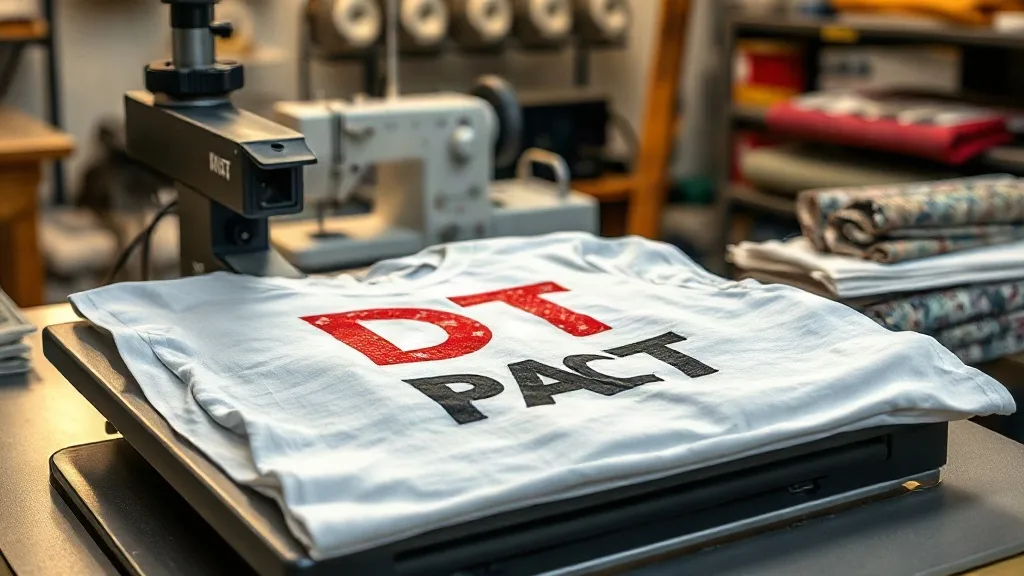
Imagine pressing a button and watching a vibrant, full-color design appear on a t-shirt in minutes. That's the magic of dtf printing, a technology that's rapidly becoming the go-to method for custom apparel. Whether you're a hobbyist or a small business owner, understanding dtf transfers can open up a world of creative possibilities. In this guide, we'll walk you through what DTF is, why it's gaining popularity, and how you can achieve professional results at home.
What Are DTF Transfers?
DTF stands for Direct to Film. It's a printing process where your design is printed onto a special film, coated with a adhesive powder, and then heat-pressed onto fabric. Unlike DTG (Direct to Garment) or screen printing, DTF doesn't require pretreating the shirt or using specialized inks for different fabrics. The result is a soft, stretchable print that bonds permanently to the material.
The process involves a few key steps: designing your artwork, printing it onto PET film with a DTF printer, applying hot melt powder, and curing the powder. Once the transfer is ready, you can store it for later or press it immediately. This flexibility makes DTF ideal for on-demand production.
Why Choose DTF Transfers?
There are several reasons why DTF has become a favorite among crafters and professionals alike. Let's break down the main advantages.
Vibrant Colors on Any Fabric
DTF prints can reproduce intricate details and gradients with stunning accuracy. Because the design is printed on film first, you're not limited by the color of the garment. Whether you're working with cotton, polyester, blends, or even leather, the colors remain bright and opaque. This is a game-changer for dark garments, where other methods might require a white underbase.
Durability and Washability
When applied correctly, DTF transfers are incredibly durable. They withstand repeated washing without cracking, peeling, or fading. The key is proper curing and pressing. We'll cover that later, but rest assured, a well-made DTF transfer can outlast the garment itself.
Cost-Effective for Small Batches
Traditional screen printing requires separate screens for each color, making short runs expensive. DTF eliminates that. You can print one-off designs or small batches without setup fees. This makes it perfect for personalized gifts, sample runs, or small business inventory.
No Weeding or Cutting
If you've ever worked with heat transfer vinyl (HTV), you know the pain of weeding tiny details. DTF transfers come ready to press—no cutting, no weeding. Just peel and press. This saves hours of tedious work and reduces waste.
DTF vs. Other Printing Methods
How does DTF stack up against DTG, screen printing, and sublimation? Here's a quick comparison.
- DTG: Best for 100% cotton, but requires pretreatment and can be less vibrant on dark shirts. DTF works on more fabrics and often has better color payoff.
- Screen Printing: Ideal for large orders with few colors, but costly for small batches and complex designs. DTF excels in small runs and full-color images.
- Sublimation: Only works on polyester and requires light-colored fabrics. DTF adheres to almost any fabric and any color.
As you can see, DTF fills a niche that other methods can't, offering versatility and quality without the usual constraints.
How to Apply DTF Transfers: Step by Step
Applying a DTF transfer is straightforward, but attention to detail ensures a lasting result. Follow these steps for best results.
What You'll Need
- Heat press (or iron with no steam)
- DTF transfer
- Garment (preferably pre-pressed to remove moisture)
- Parchment paper or Teflon sheet
Step 1: Prepare Your Workspace
Set your heat press to the recommended temperature, usually around 325°F (160°C) for DTF. Pre-press the garment for a few seconds to remove wrinkles and moisture. This step is crucial; moisture can ruin the transfer.
Step 2: Position the Transfer
Place the DTF transfer on the garment with the printed side facing up. If your design has a white layer, that side goes against the fabric. Double-check placement before pressing.
Step 3: Press
Cover the transfer with parchment paper or a Teflon sheet. Press with medium pressure for 10-15 seconds. Do not use steam. The transfer will adhere to the fabric.
Step 4: Peel
DTF transfers are typically cold peel or warm peel. Check your supplier's instructions. For cold peel, wait until the transfer cools completely before peeling off the film. For warm peel, remove while still warm. Peel slowly at a low angle.
Step 5: Post-Press (Optional)
For extra durability, you can press the design again for a few seconds with a cover sheet. This ensures the powder is fully cured and the print is embedded into the fabric.
Common Mistakes to Avoid
Even with a simple process, pitfalls exist. Here are some common issues and how to prevent them.
- Insufficient pressure: Leads to poor adhesion. Make sure your press applies even pressure.
- Too much heat: Can scorch the fabric or cause the transfer to burn. Always check temperature settings.
- Peeling too early or too late: Follow the recommended peel method. Peeling a cold-peel transfer while hot can smear the design.
- Not pre-pressing: Moisture and wrinkles cause uneven transfers. Always pre-press.
Design Tips for Stunning DTF Prints
To get the most out of your DTF transfers, keep these design principles in mind.
- Use high-resolution images: 300 DPI is standard. Low-res images will look pixelated.
- Add a white underbase: Most DTF printers automatically print a white layer behind the colors. This ensures opacity on dark fabrics.
- Avoid very fine lines: While DTF can handle detail, extremely thin lines may not adhere well. A minimum line width of 0.5 pt is safe.
- Consider the fabric: For stretchy fabrics, design with some flexibility. DTF transfers stretch with the garment, but extreme distortion can cause cracking.
Frequently Asked Questions
Can I use DTF transfers on 100% polyester?
Yes, DTF works on polyester, but you may need to adjust temperature and pressure. Polyester is heat-sensitive, so use a lower temperature (around 300°F) and test on a scrap piece first.
How long do DTF transfers last?
With proper application and care, DTF transfers can last as long as the garment. Wash inside out in cold water and avoid bleach and fabric softeners to extend the life.
Do I need a special printer for DTF?
Yes, DTF requires a printer with DTF inks and a film feeding system. However, you can also buy pre-made transfers from suppliers if you don't want to invest in a printer.
Can I layer DTF transfers?
Yes, you can layer DTF transfers, but it's tricky. Press the first transfer, then apply the second on top. Use a cover sheet to protect the design. Layering works best with simple shapes.
What's the difference between DTF and DTG?
DTG prints directly onto the garment, while DTF prints onto a film that is then transferred. DTF generally offers more vibrant colors on dark fabrics and works on more materials.
Final Thoughts
DTF transfers are a versatile and accessible way to create custom apparel. With a modest setup and a bit of practice, you can produce professional-quality prints that impress. Whether you're making gifts, starting a business, or just having fun, DTF technology puts creativity at your fingertips. Remember to source quality supplies, follow the steps carefully, and don't be afraid to experiment. Your next masterpiece is just a press away.