
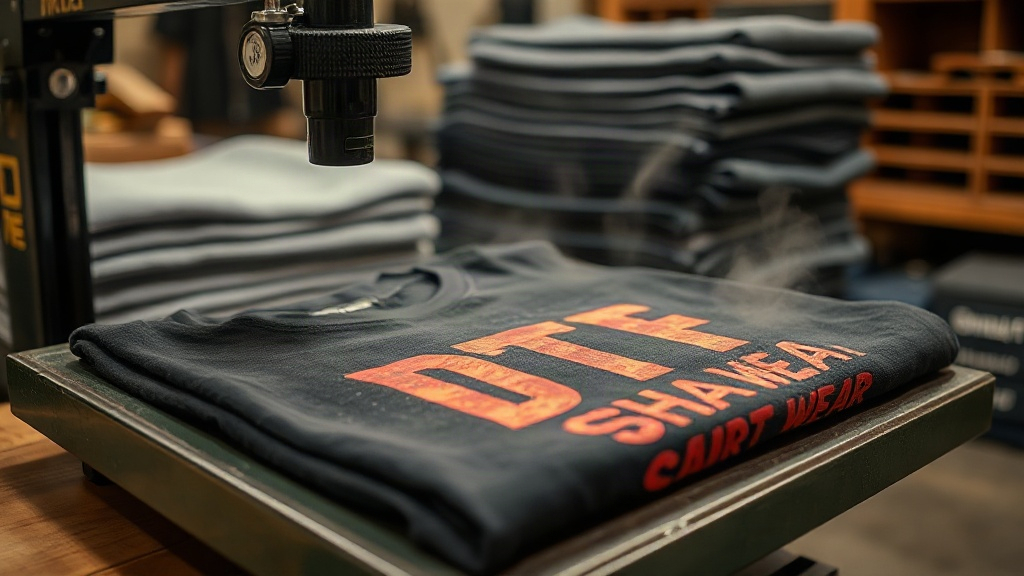
You've probably seen the vibrant, detailed prints that DTF transfers can produce, and if you're working with popular blank brands like Shaka Wear or Smart Blanks, you might wonder if these garments play nicely with the process. The short answer: absolutely. But getting consistent, shop-quality results requires a bit of know-how. In this guide, I'll walk you through everything I've learned from pressing hundreds of DTF transfers onto these specific blanks, so you can avoid the common pitfalls and produce shirts that survive wash after wash.
Why Shaka Wear and Smart Blanks Are Great for DTF
Both Shaka Wear and Smart Blanks have earned a reputation among decorators for their consistent quality and wide color range. Shaka Wear is known for its heavyweight, 100% cotton tees that feel substantial and hold their shape. Smart Blanks offers a similar level of quality with a focus on softness and a modern fit. When it comes to DTF, the key is the fabric's ability to accept the adhesive powder and ink without excessive texture interfering.
I've found that both brands take DTF transfers beautifully, but each has its own quirks. Shaka Wear's heavier cotton can soak up more heat, so you might need a slightly longer press time. Smart Blanks' softer hand means you have to be careful not to scorch the fabric, especially on lighter colors. Once you dial in your settings, though, the results are stunning: bright colors, fine details, and a stretchy print that moves with the shirt.
Fabric Composition Matters
Before you press anything, check the label. Most Shaka Wear tees are 100% cotton, which is ideal for DTF because cotton fibers create a strong mechanical bond with the adhesive. Smart Blanks offers a mix of 100% cotton and cotton/poly blends. Polyester blends can be tricky because the plastic in the fabric can repel the adhesive if not prepped correctly. For best results on blends, use a lower temperature and a slightly longer dwell time, and always pre-press to remove moisture.
Preparing Your Shaka Wear and Smart Blanks Tees
Pre-pressing is non-negotiable. I learned this the hard way after ruining a batch of Smart Blanks tees with wrinkled prints. Here's my routine:
- Pre-press for 5-7 seconds at 300°F (150°C) to remove moisture and wrinkles. This also helps the fabric shrink slightly before you apply the transfer, preventing distortion later.
- Use a lint roller to remove any fibers or dust. Even a tiny speck can create a visible flaw in the final print.
- Place parchment paper over the shirt if you're worried about scorching, especially on dark Shaka Wear tees where scorch marks are less visible but can still affect adhesion.
For Smart Blanks, which tend to be softer, I sometimes lower the pre-press temperature to 280°F to avoid any shine or discoloration. It's a small tweak that makes a big difference.
Pressing Settings That Work
Every heat press is a little different, so use these as a starting point and adjust based on your results. I press DTF transfers on both Shaka Wear and Smart Blanks at 325°F (163°C) for 15 seconds with medium-heavy pressure. That's my sweet spot after countless trials.
Peeling: Hot vs. Cold
Most DTF transfers today are cold peel, meaning you wait until the transfer is completely cool before removing the film. I've tested both hot and cold peel on these blanks, and cold peel consistently gives cleaner edges. For Shaka Wear's heavy cotton, I let it cool for at least 2 minutes. Smart Blanks cools faster, but I still wait a full minute. If you peel too early, you risk pulling up the adhesive and getting a dull, cracked print.
Pressure and Evenness
Pressure is where many people go wrong. Too little pressure and the transfer won't adhere; too much and the adhesive can bleed, creating a halo around your design. I aim for a pressure that feels firm but not crushing. On a clamshell press, that's usually about 6-7 on a 1-10 scale. Make sure your platen is level; an uneven press is the number one cause of partial transfers.
Troubleshooting Common Issues
Even with perfect settings, things can go sideways. Here are fixes for the most frequent problems I've encountered with DTF transfers on Shaka Wear and Smart Blanks.
Transfer Not Sticking
If the transfer peels off with the film, it's usually due to insufficient pressure, low temperature, or moisture in the fabric. Re-press for another 10 seconds at the same temperature, increasing pressure slightly. If that fails, the adhesive may be defective; try a different batch.
Cracking After Wash
Cracking often means the transfer wasn't pressed long enough or the shirt wasn't pre-pressed. Always follow the wash instructions: turn the shirt inside out, machine wash cold, and tumble dry low. I've had shirts from both brands last over 50 washes without cracking when cared for properly.
Color Fading
Fading can happen if the transfer is overheated during pressing. Stay within the recommended temperature range and avoid pressing the transfer multiple times. If you need to re-press, use a lower temperature and a shorter time.
Choosing the Right DTF Transfer for Your Blanks
Not all DTF transfers are created equal. For Shaka Wear and Smart Blanks, I recommend transfers with a high-quality adhesive powder that's designed for cotton and blends. Look for transfers that specify a low application temperature (around 300-325°F) to protect the fabric. Also, consider the design's detail level: DTF excels at fine lines and gradients, so don't shy away from intricate artwork.
When ordering, ask your supplier about the transfer's stretchability and wash durability. I've found that transfers with a matte finish tend to look more integrated with the fabric, while glossy finishes can feel plasticky. For a soft-hand feel on Smart Blanks, a matte transfer is a game-changer.
Final Thoughts
Mastering DTF on Shaka Wear and Smart Blanks is absolutely doable with a little practice. The key is to start with quality blanks, prep them properly, and fine-tune your press settings. Once you get it right, you'll be able to offer your customers vibrant, long-lasting prints that set your shop apart. Remember, every press is different, so don't be afraid to experiment and keep notes. Happy pressing!
Frequently Asked Questions
Can I use DTF transfers on 50/50 blends like some Smart Blanks tees?
Yes, but you'll need to adjust your settings. Lower the temperature to 300°F and increase the press time to 20 seconds. Pre-press for a full 10 seconds to remove moisture, and use a light pressure to avoid crushing the fabric. Always test on a scrap piece first.
What's the best way to store unused DTF transfers?
Keep them in a cool, dry place away from direct sunlight. I store mine in a zip-top bag with a silica gel packet to prevent moisture damage. Avoid folding or creasing the transfers, as this can cause the adhesive to flake.
How long should I wait before washing a shirt with a DTF transfer?
Wait at least 24 hours after pressing before washing. This gives the adhesive time to fully cure. For best results, wash inside out in cold water and tumble dry low. Avoid fabric softener, which can break down the adhesive over time.
Do I need a special heat press for DTF?
No, any heat press that can maintain consistent temperature and pressure will work. A clamshell or swing-away press is fine. Just make sure your press is calibrated; an infrared thermometer can help you verify the actual platen temperature.