
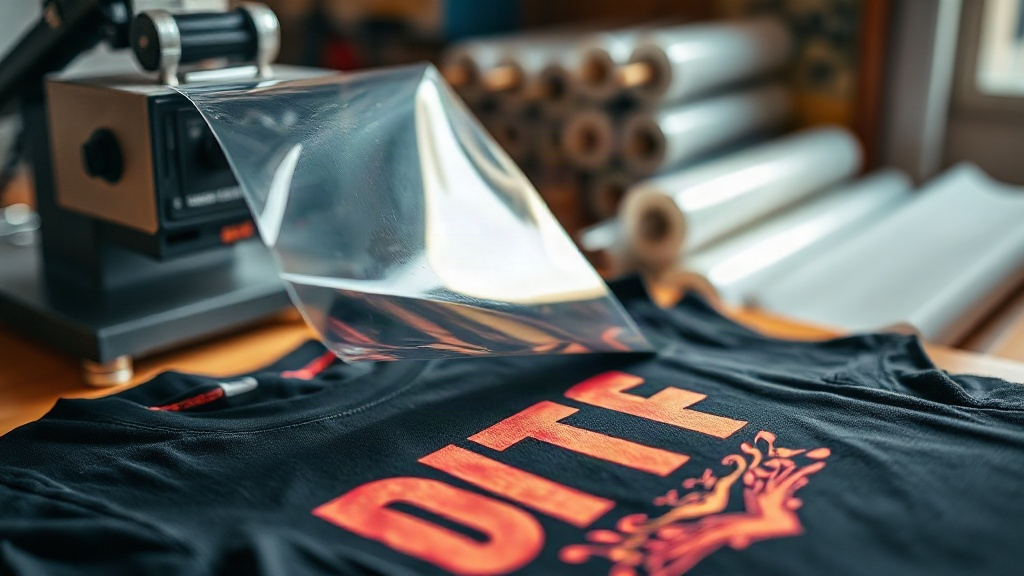
When a customer walks into your print shop with a full-color photo of their dog and wants it on a single dark hoodie by Friday, your options used to be limited and expensive. Screen printing required setup costs that made one-off jobs unprofitable, and vinyl cutting couldn't handle the detail. Then DTF Transfers entered the picture, and suddenly small shops could produce vibrant, durable prints on demand without breaking the bank.
If you've been hearing about DTF but aren't sure where to start, this guide is for you. I've spent the last three years running a two-person shop that relies heavily on DTF for everything from band merch to bachelorette party tees. I'll share what I've learned about films, powders, inks, pressing, and the mistakes that cost me time and money so you can avoid them.
What Exactly Are DTF Transfers?
DTF stands for Direct to Film. The process involves printing your design onto a special PET film using a DTF printer, covering the wet ink with a thermoplastic powder, and then curing the powder with heat. The result is a flexible, stretchable transfer that can be applied to cotton, polyester, blends, and even some nylon fabrics.
Unlike DTG (Direct to Garment), which prints directly onto the shirt, DTF separates the printing and application steps. This means you can print transfers in bulk, store them, and press them as orders come in. That flexibility is a game-changer for small shops that can't afford to keep every color and size in stock.
The Basic DTF Workflow
Here's the step-by-step process you'll follow:
- Create or import your design into RIP software.
- Print the design onto DTF film using a DTF printer with white ink capabilities.
- Apply hot melt powder evenly over the wet print.
- Shake off excess powder and cure the film in an oven or with a heat press.
- Press the finished transfer onto your garment using a heat press.
Each step has variables that affect the final quality. Let's dig into the details.
Choosing the Right DTF Film
Not all DTF films are created equal. The film is the foundation of your transfer, and a poor-quality film will cause problems no matter how good your printer is.
Cold Peel vs. Hot Peel
Cold peel films require you to wait until the transfer cools completely before removing the carrier sheet. Hot peel films let you remove the sheet while it's still warm. Hot peel is faster and reduces the risk of the transfer lifting, but cold peel films often produce a slightly smoother finish. I keep both on hand and choose based on the design. For intricate details, I prefer hot peel because it's less likely to distort the image.
Thickness and Finish
Thicker films hold more ink and powder, which can be an advantage for bold, saturated designs. Thinner films feel softer on the garment but may require more careful handling. Matte films are popular for a no-gloss look, while glossy films can make colors pop. Try a few brands to see what works with your printer and your customers' preferences.
Inks and Powders: The Dynamic Duo
DTF printing uses two types of ink: CMYK for color and white for opacity. The white ink is crucial because it allows the design to show up on dark fabrics. Without it, your colors would disappear into the shirt.
Quality DTF inks are pigment-based and formulated to work with the powder. Cheap inks may clog your printhead or produce dull colors. I learned this the hard way when I tried to save a few bucks on a third-party ink set. The colors were muted, and I had to replace the printhead after a month. Stick with reputable brands, even if they cost more.
The powder, also called hot melt adhesive, is what makes the transfer stick to the fabric. Particle size matters: finer powders create a softer hand feel, while coarser powders provide stronger adhesion. Most shops use a medium-grade powder (around 80-200 microns) for a balance of softness and durability.
How to Apply Powder Evenly
You can apply powder manually or use a shaker machine. Manual application works for low volumes, but it's easy to get uneven coverage. I recommend a shaker for consistent results. After applying, gently shake the film to remove excess powder. You want a thin, even layer that's fully saturated but not caked on.
Curing: The Make-or-Break Step
Curing melts the powder and bonds it to the ink. If you undercure, the transfer will peel. If you overcure, the film may warp or the ink may crack. The sweet spot is typically 320-350°F (160-175°C) for 2-3 minutes in an oven, or 10-15 seconds with a heat press at low pressure.
I use a dedicated curing oven because it gives me consistent results across large batches. If you're using a heat press for curing, place the film between two sheets of parchment paper to prevent sticking. Always test your specific film and powder combination to find the right time and temperature.
Signs of Proper Curing
- The powder appears glossy and fully melted.
- The film feels smooth to the touch, with no gritty texture.
- When you bend the film, it doesn't crack or flake.
If the powder still looks white and powdery, it needs more heat. If the film curls or the ink looks burnt, you've gone too far.
Pressing DTF Transfers onto Garments
Once your transfer is cured, it's ready to press. This step is straightforward but requires attention to pressure, temperature, and time.
Temperature and Pressure
Set your heat press to 300-325°F (150-160°C) with medium pressure. Too much pressure can cause the design to spread or the adhesive to bleed. Too little pressure results in poor adhesion. I always do a test press on a scrap garment before running a batch.
Peeling the Carrier Sheet
If you're using hot peel film, remove the sheet immediately after pressing while the transfer is still warm. For cold peel, wait until it's completely cool. Pull the sheet in a smooth, steady motion, ideally at a low angle. Rushing this step can lift edges or distort fine lines.
Post-Pressing for Durability
Some printers recommend a second press with a Teflon sheet for 5-10 seconds to improve wash durability. I've found this extra step helpful for garments that will be washed frequently, like kids' shirts. It also gives the print a slightly smoother finish.
Common Problems and How to Fix Them
Even with experience, things go wrong. Here are the issues I encounter most often and how I troubleshoot them.
Transfer Peels After Washing
This usually means undercuring or insufficient pressure during application. Increase curing time or temperature, and make sure your heat press is applying even pressure across the entire design. Also, check that the garment is clean and dry before pressing.
Colors Look Dull
Dull colors can result from expired ink, incorrect color profiles, or too much powder. Start by calibrating your printer and using fresh ink. If that doesn't help, reduce the amount of powder you're applying. A thinner layer of powder lets more color show through.
Film Jammed in Printer
DTF film is thinner than standard paper, so it can jam if your printer's rollers are too tight or if the film is warped. Store film flat and away from humidity. If jams are frequent, check your printer's feed settings and consider a dedicated DTF printer rather than a converted inkjet.
Is DTF Right for Your Shop?
DTF isn't perfect for every situation. It excels at short runs, full-color designs, and printing on a variety of fabrics. It's less ideal for high-volume orders where screen printing would be more cost-effective, or for garments that require a very soft, almost invisible hand feel (though DTF has improved significantly in this area).
For a small shop like mine, DTF has opened up new revenue streams. We can take on one-off custom orders, create samples for potential clients, and offer services like heat transfer vinyl without investing in a cutter. The equipment costs are reasonable, and the learning curve is manageable if you're willing to experiment.
Frequently Asked Questions About DTF Transfers
How long do DTF transfers last on a shirt?
With proper curing and application, DTF transfers can last 50+ washes without significant fading or cracking. Following the care instructions (wash inside out in cold water, tumble dry low) will maximize longevity.
Can I use DTF transfers on 100% polyester?
Yes, DTF works well on polyester, but you need to lower your press temperature to around 280-300°F to avoid scorching or dye migration. Using a low-temperature powder can also help.
Do I need a special printer for DTF?
You can convert some inkjet printers to DTF, but a dedicated DTF printer with a white ink channel is strongly recommended. Dedicated printers handle the ink circulation and maintenance required for white ink, which is essential for DTF.
What's the difference between DTF and DTG?
DTG prints directly onto the garment, while DTF prints onto a film that is then transferred. DTF generally offers better durability on dark fabrics and doesn't require pre-treatment, but DTG can produce a softer feel on light-colored cotton.
How should I store unused DTF transfers?
Store them flat in a cool, dry place away from direct sunlight. Avoid stacking heavy objects on top, as pressure can cause the powder to stick to the film. Properly stored transfers remain usable for several months.
DTF transfers have become an essential tool for my shop, and I believe they can do the same for yours. Start with a small setup, practice on scrap garments, and don't be afraid to make mistakes. The more you print, the more intuitive the process becomes. Before long, you'll be taking on jobs you never thought possible.