DTF Gangsheet Builder: Master It with These Simple Steps
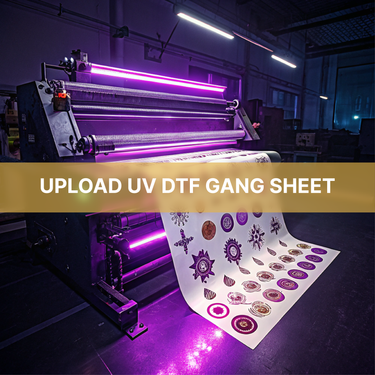
The DTF Gangsheet Builder is an innovative tool that has transformed the realm of DTF printing, enabling users to efficiently print multiple designs on a single sheet of film. This game-changing technology streamlines the printing process, allowing businesses and individuals to maximize their productivity and creativity. In this guide, we will delve into the essential DTF printing instructions you need to master the DTF Gangsheet Builder, whether you’re a seasoned pro or just starting out. From design preparation to heat pressing, we will cover all the steps in detail, ensuring that you harness the full potential of this powerful gangsheet design software. As we explore the intricacies of this process, you’ll gain insights into how mastering DTF printing can elevate your garment creations to new heights.
In the world of garment decoration, the Direct to Film (DTF) printing method has gained significant traction, particularly for its ability to create high-quality, vibrant prints. Central to this process is the gangsheet creation technique, which allows users to compile several designs onto a single sheet for efficient printing. By utilizing the DTF Gangsheet Builder, users can optimize their workflow while reducing material waste and costs. Understanding how to effectively use gangsheet design software is crucial for anyone looking to enhance their apparel printing capabilities. This guide will walk you through the essential steps and best practices to ensure you can fully leverage this innovative tool.
Mastering the Basics of DTF Printing
Direct to Film (DTF) printing has gained immense popularity among garment decorators due to its versatility and high-quality results. Understanding the basics of DTF printing is essential for anyone looking to create vibrant and durable designs. DTF utilizes specialized inks that are printed onto a transfer film, which is then heat pressed onto the fabric. This technique allows for detailed and colorful outputs that can meet the standards of various fabrics, making it a favorable choice for both small businesses and larger operations.
The DTF process begins with preparing high-resolution designs that ensure sharpness and accuracy after printing. For optimum results, it’s recommended to use designs at a resolution of 300 DPI. It’s not only essential to focus on the initial printing steps, but also to understand the preparation and heat transfer aspects to achieve the best possible outcome. With DTF printing, the fusion of technology and artistry allows printmakers to express their creativity while maximizing efficiency.
Understanding the DTF Gangsheet Builder
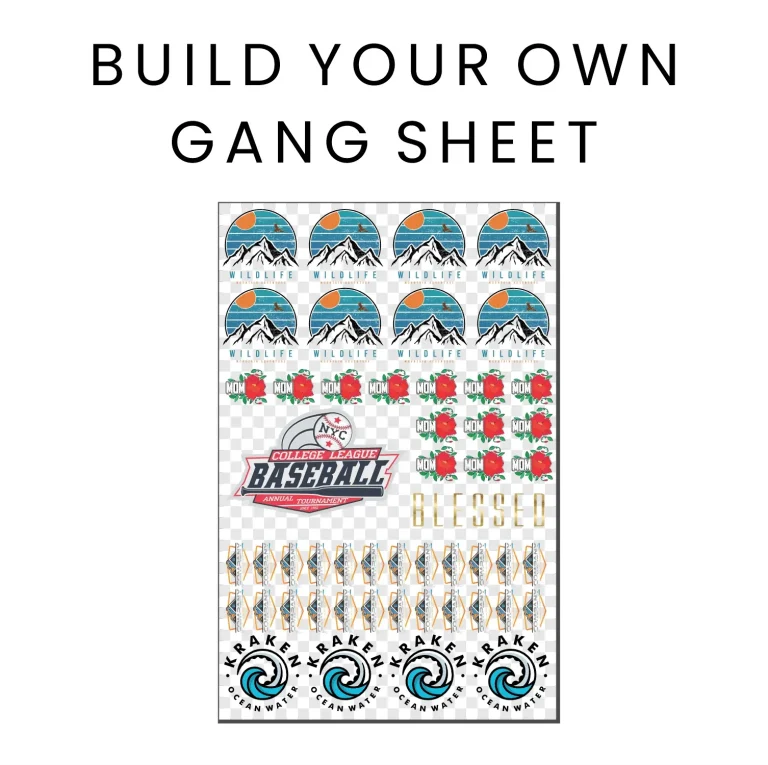
The DTF Gangsheet Builder is a groundbreaking tool that significantly streamlines the printing process. By allowing multiple designs to be arranged on a single sheet of DTF film, it optimizes resource use and minimizes waste. This tool is especially beneficial for businesses that frequently print several designs for promotional items or custom apparel. Utilizing the Gangsheet Builder can result in notable cost savings and a more efficient workflow, ultimately enhancing productivity.
With the Gangsheet Builder, users can import designs from various graphic design software and arrange them meticulously to ensure adequate spacing and alignment. Mastering this tool involves not just technical skills, but also a creative eye for design. Properly completed gang sheets can elevate the quality of final prints by ensuring that each design is perfectly positioned for transfer, thus avoiding misalignments that could occur during the application process.
Preparing You’re Designs for DTF Gangsheet Printing
Before engaging with the DTF Gangsheet Builder, it’s crucial to prepare your designs meticulously. Begin with the creative process by using high-quality graphic design software. Tools like Adobe Illustrator or Canva allow you to create visually striking designs that are suitable for DTF printing. Make sure to save your designs in a compatible format, ensuring that they retain their resolution and vibrancy when imported into the Gangsheet Builder.
It’s advisable to carefully consider the color palettes and design elements that you want to incorporate. Bright colors tend to fare better in DTF printing and stand out on various fabric textures. Additionally, save your designs in formats such as PNG or TIFF to maintain clarity and avoid compression issues, as these can affect the print outcome. Proper design preparation sets the foundation for successful printing and enhances the overall visual appeal of the finished garment.
Importing and Arranging Designs in the Gangsheet Builder
Once your designs are prepared, the next step involves importing them into the DTF Gangsheet Builder software. Launching the software is straightforward, and you can seamlessly bring in your files using the import feature. Ensure that the aspect ratio and resolution are intact during this transfer, as any changes could detrimentally affect your printed output.
After importing, arranging your designs effectively is vital for a professional finish. The Gangsheet Builder often includes features like grid alignment and snap-to-grid capabilities that assist in positioning your designs without overlap. Proper spacing is essential to avoid any issues during the heat press phase, where closely placed designs could overlap or misalign, leading to compromised prints.
Optimizing Print Parameters for Quality Results
To achieve top-notch output with your DTF prints, setting the right print parameters in the software is paramount. This includes adjusting color management settings and selecting the appropriate print quality conditions that match your specific printer model. Each printer has its unique capabilities and settings; hence consulting the manual for tailored configurations will yield the best results.
Conducting a test print before running the final gangsheet can save time and materials. Testing helps ascertain color accuracy and design clarity, allowing you to make necessary adjustments without jeopardizing your entire batch. Quality assurance through careful parameter settings ensures vibrant colors and clean, detailed prints that can stand up to close inspection.
Best Practices for Heat Pressing DTF Transfers
Heat pressing is a crucial step in the DTF printing process, as it solidifies the transfer from the film to the fabric. Preheating the heat press according to the specifications provided for your film is vital—typically around 350°F—ensures optimal adhesion and durability. Familiarity with specific pressing times and temperatures is also essential, as these can vary depending on the type of fabric being used.
When applying the print transfer, it’s important to cover it with a protective sheet, like parchment paper, to prevent any scorching or damage during the heat press process. After pressing, allow the transfer to cool slightly before peeling off the film to reveal the vibrant design underneath. Mastering the heat pressing stage can significantly enhance the quality and longevity of your DTF prints, ultimately delivering an exceptional end product.
Frequently Asked Questions
What is the DTF Gangsheet Builder and how does it optimize DTF printing?
The DTF Gangsheet Builder is a software tool that allows users to consolidate multiple designs onto a single sheet of DTF film for efficient printing. By using this tool, businesses can save time and materials, maximizing productivity and reducing waste associated with traditional printing methods.
How do I use the DTF Gangsheet Builder for my printing projects?
To use the DTF Gangsheet Builder, start by preparing your designs in high-resolution formats like PNG or TIFF. Import these designs into the builder, arrange them appropriately, and set up your print parameters. Once everything is configured, print the gangsheet and utilize a heat press to transfer the designs onto your fabric.
What are the key steps in mastering DTF printing using the Gangsheet Builder?
Mastering DTF printing with the Gangsheet Builder involves several key steps: design preparation, importing designs, arranging them in the builder, configuring print settings, printing the gangsheet, and finally, heat pressing the prints onto your garment. Each step is crucial for achieving high-quality results.
Can I use any design software with the DTF Gangsheet Builder?
While various design software can be used, it’s advisable to use programs like Adobe Photoshop or DTF-specific software for optimal results. These tools ensure compatibility and provide features that aid in creating effective gangsheet designs suitable for DTF printing.
What tips can help improve my skills in using the DTF Gangsheet Builder?
To improve your skills with the DTF Gangsheet Builder, familiarize yourself with different design layouts and settings in the software. Watching online tutorials, practicing regularly, and keeping up to date with the latest DTF printing techniques and materials can also enhance your proficiency.
What are some common issues faced while using the DTF Gangsheet Builder, and how can they be resolved?
Common issues include design misalignment, color inaccuracies, and printing errors. To resolve these, ensure your designs are correctly sized before importing, double-check printer settings, and conduct test prints whenever possible. Maintaining your equipment and using quality materials will also mitigate many problems.
| Key Point | Description |
|---|---|
| Understanding DTF Printing | DTF printing enables vibrant designs to be transferred onto fabric, providing high-detail outputs. |
| What is a Gangsheet? | A layout for printing multiple designs on one sheet of DTF film, reducing costs and improving efficiency. |
| Step 1: Design Preparation | Create high-resolution designs and save them in compatible file formats like PNG or TIFF. |
| Step 2: Importing Designs | Open the DTF Gangsheet Builder software and import your prepared designs, maintaining their resolution. |
| Step 3: Arranging Designs | Drag and drop designs into the workspace, ensuring there’s no overlap, and resize uniformly as needed. |
| Step 4: Print Setup | Select printer settings that match the DTF film specifications and run a test print for quality. |
| Step 5: Printing the Gangsheet | Load the DTF film and monitor the print process for issues like jams or misalignments. |
| Step 6: Heat Pressing | Preheat the heat press, apply the transfer, and peel the film after cooling to reveal the design. |
| Common Software Tools | Popular tools like Adobe Photoshop and specific DTF software aid in creating gang sheets efficiently. |
| Recent Developments | Stay updated with new inks and techniques emerging in DTF printing to enhance quality. |
Summary
The DTF Gangsheet Builder is an essential tool for anyone looking to enhance their fabric printing capabilities. This guide provides clear, actionable steps to master the process of creating stunning prints with DTF technology. From preparation to heat pressing, leveraging the DTF Gangsheet Builder allows for significant improvements in efficiency and print quality. Whether you’re a seasoned professional or just starting in garment decoration, mastering these techniques will set you on the path to producing vibrant, high-quality designs that elevate your work. Stay engaged with ongoing developments in the DTF printing space to continually refine your craft.